

For anyone just starting out in the coffee industry, learning to cup coffee can be more than a little overwhelming—especially when everyone around you is slurping loud enough to hail a cab in midtown. But while hitting third octaves off a cupping spoon might seem a little excessive, there’s a reason why cuppers like to slurp so loudly: a more aggressive slurp means that more coffee is aerated across the palate, making it easier for a cupper to pick up on all the flavor notes a coffee has to offer.
Why is that important? That’s because the goal of a coffee cupping isn’t just about simply tasting the coffee, but about evaluating it as objectively as possible. From smelling a coffee’s fragrance to judging its aftertaste, each step of a cupping is meant to allow a coffee cupper to peer deeper into each aspect of flavor—both good and bad—that a coffee has to offer.
The whole process of cupping—and scoring—coffee isn’t the easiest thing to learn and cupping well can take years to master. However, it’s an essential skill that every coffee professional should be familiar with, especially if involved in roasting, green buying, coffee education, or training. Cupping follows a universal protocol used by industry professionals around the world, from roasters to producers, allowing for a common language of coffee.
So we talked to Yimara Martinez, a Q Processing Expert and the best cupper we know, to go over the basics of what you need to successfully conduct a standard cupping. As the first piece in our "QC Series," we'll explore some of the essential topics around Quality Control in this article. So even if you’re a seasoned cupper, be sure to read to the end—you might pick up on some valuable tips and insights! And stay tuned for our upcoming pieces!
________________________________________________
What is evaluated in a coffee cupping?
There are three main reasons for coffee cupping: to assess a coffee’s flavor profile as transparently and objectively as possible, to evaluate a coffee’s quality in order to assign a score, or, if you’re a roaster, to assess the quality/profile of a roast. For the purposes of this blog post, we’ll be approaching cupping outside of the context of assigning a score because unless you’re a Q grader, a producer cupping for a cooperative, or a green buyer, most people who are cupping are simply doing so to better understand a coffee—and to see if they like or dislike a coffee’s profile.
That being said, it is useful to cup coffees while keeping the SCA protocol in mind as it provides a very thorough way for analyzing a coffee. Be on the lookout for future blog posts on cupping with insights into topics like scoring and identifying defects!
When cupping, there are 11 components that are evaluated:
- Roast level: This is the first aspect that is evaluated in a cupping. The roast shouldn’t be so heavy as to be the dominant flavor, and it shouldn’t be too light that a coffee’s flavors aren’t fully developed. The roast level has to bring out the best of the coffee and not hide any of its attributes.
- Fragrance: This refers to the smell of the coffee grounds while they’re still dry.
- Aroma: A coffee’s “aroma” is its smell once water is added.
- Taste: “Taste” encompasses a coffee’s principal character or its main flavor notes. Some might refer to this as the “mid-range” notes, in between a coffee’s “top” notes (which are usually brighter, acidic notes) and its lower “base” notes (which tend to be comprised of notes such as, chocolate, nut, or caramel). It’s also worth noting that taste should be evaluated at different temperatures as more notes emerge or develop as the coffee cools.
- Aftertaste: A coffee’s ”aftertaste” is evaluated based on the length that positive flavors linger on the palate after the coffee is spit out or swallowed. A short or unpleasant aftertaste isn’t desirable.
- Acidity: “Acidity” is a very desirable quality in a coffee, and is described as “brightness” when positive, or when contributing to a coffee’s flavor experience; on the other hand, acidity can be described as “sour” if it’s a negative experience. Good acidity is one that enhances a coffee’s other qualities, such as sweetness, and brings the coffee to life. If acidity is overpowering or the dominant note, it’s generally not a quality that is sought after. An exception could be Kenyan coffees, which are known for their intense acidity.
- Body: This is a coffee’s texture or tactile qualities in the mouth. Body can be heavy, light, syrupy, silky, etc. Whether a coffee’s body is a negative or positive quality depends on how it interacts with a coffee’s other qualities. Both acidity and body are measured by intensity.
- Balance: “Balance” is the combination of the above characteristics and how harmoniously they interact.
- Sweetness: “Sweetness” in this context refers to a fullness of flavor and any obvious sweet flavors that a coffee has.
- Uniformity: In a standard cupping, a single coffee sample is prepared across 5 cupping bowls. A coffee is considered to have good “uniformity” if all 5 cups taste the same.
- Clean cup: A coffee has a “clean cup” if no unusual or “non-coffee like” tastes or aromas (which could be a result of defects) interfere with a coffee’s taste or aftertaste.
When coffee cupping, it’s pertinent to be on the lookout for any obvious defects in a coffee, such as mold, fungi, or off-flavors. If you’re sourcing from a reputable, quality-focused importer, most coffees should be free of defects. At the same time, it’s always possible that defects could form in transit, or if storage conditions at warehouses aren’t optimal.
Preparing the cupping table
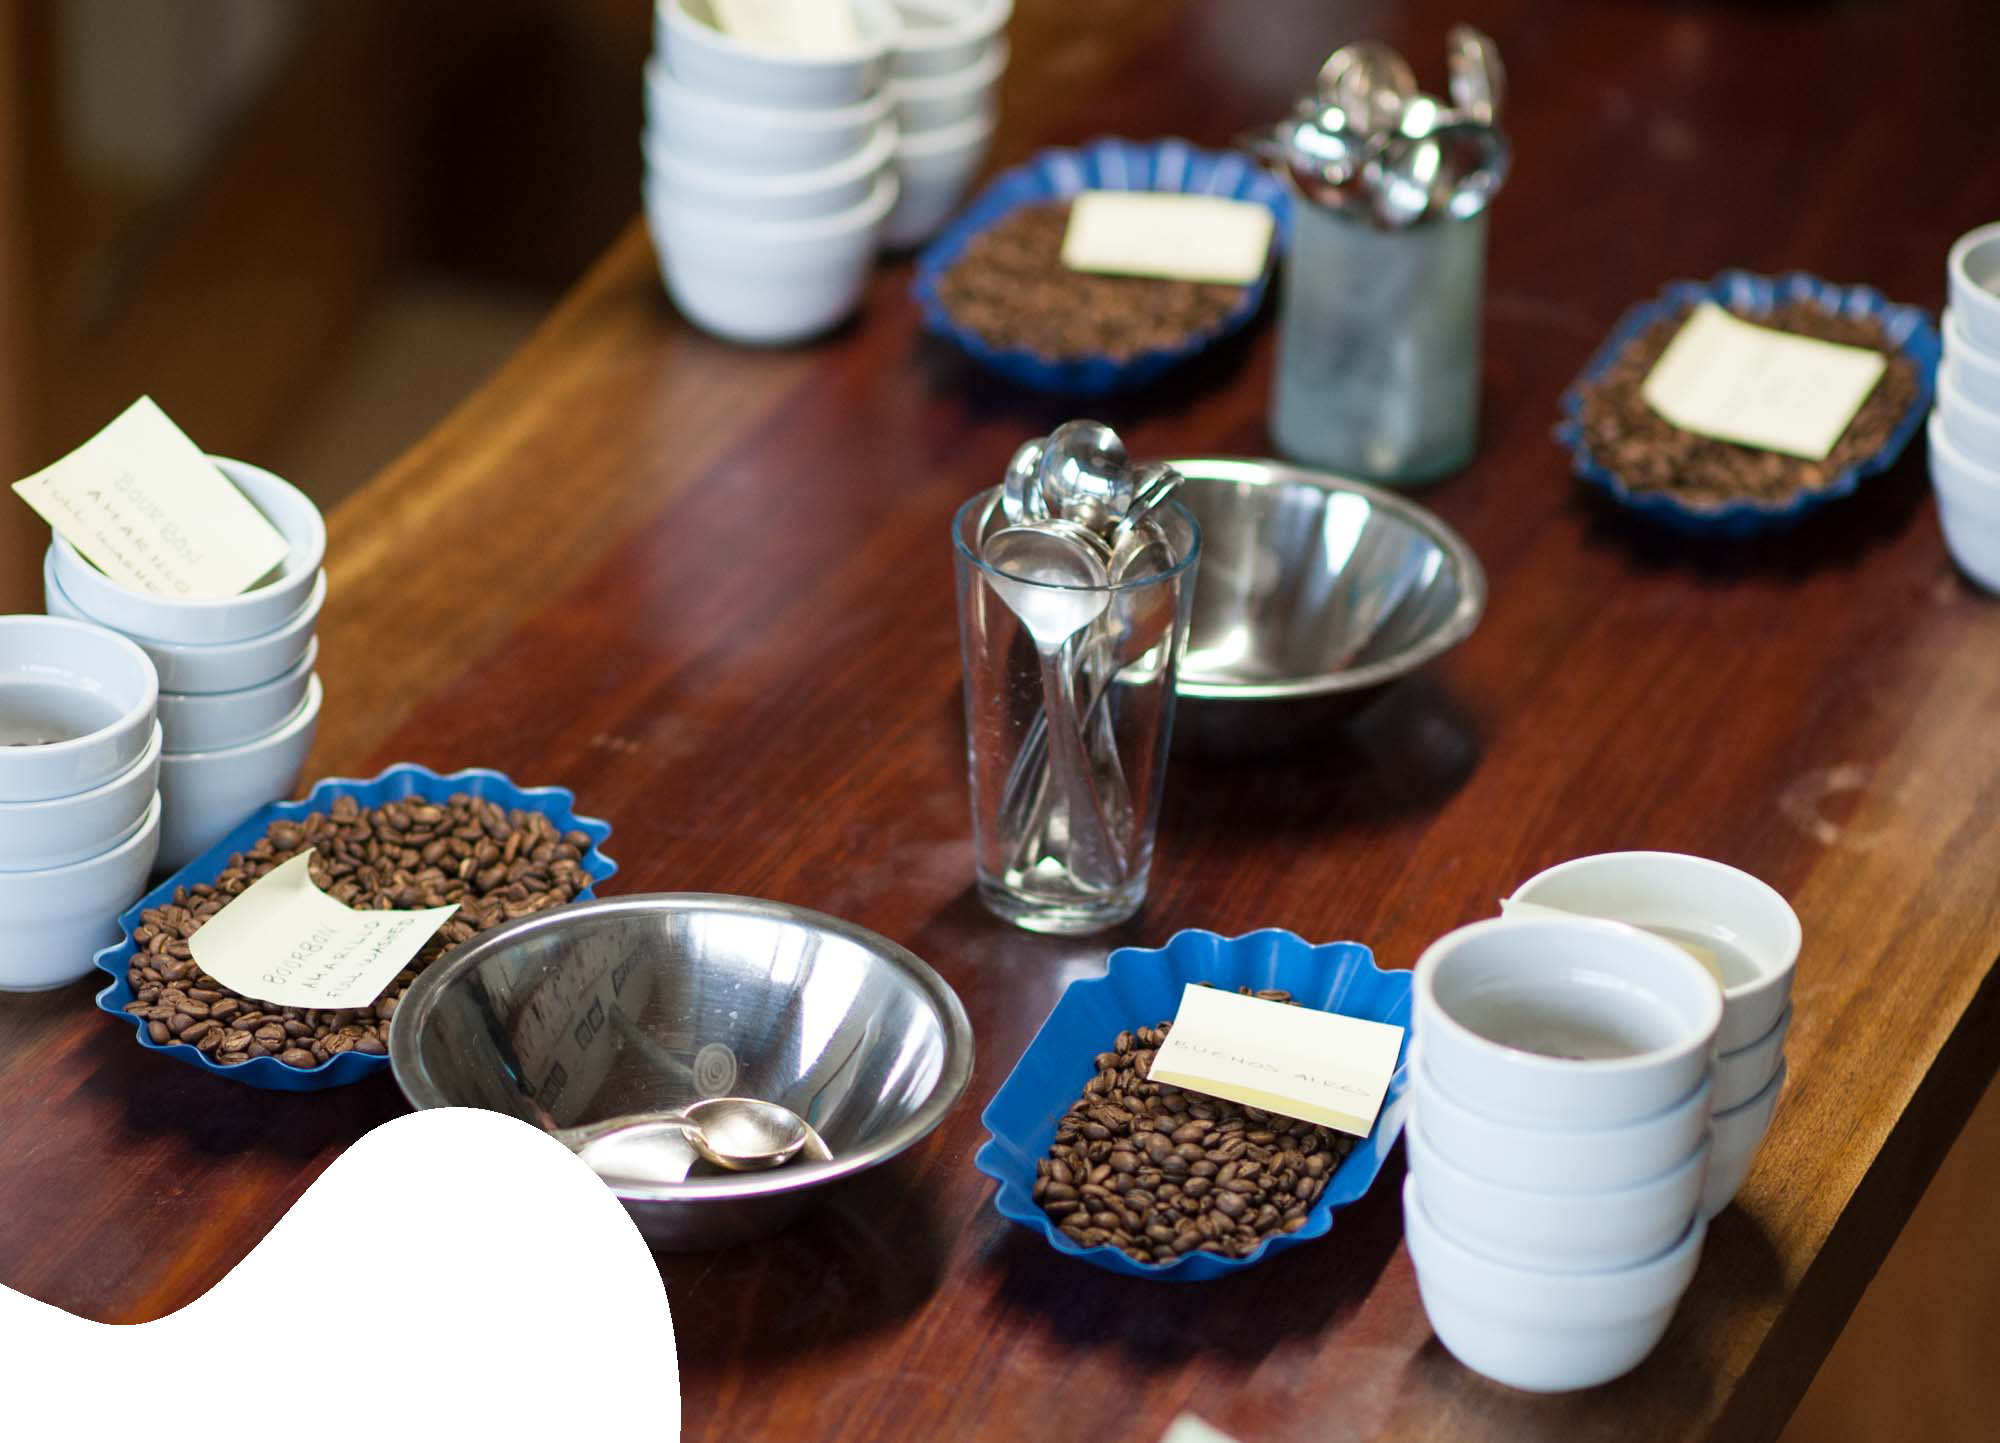
Before you start cupping, there are a few things that you’ll need to get ready! Obviously, you’ll need cupping bowls, cupping spoons, and, of course, coffee. Here are a few things to be mindful of, as well as what should be taken care of prior to cupping:
- Grind your coffee slightly coarser than you would for a pour-over. Try not to let coffee sit around too long before cupping; ideally coffees should be cupped within 30 minutes of grinding otherwise you may miss experiencing a coffee’s fragrance and aroma. Make sure to purge your grinder between different coffees.
- Bring your water to 200º F / 93º C, or just off the boil. Make sure you’re using good water for coffee (i.e., water that’s filtered, odor-free, and with the correct balance of dissolved minerals). If you’re unsure if your water is of the right quality, most bottled (non-distilled) waters should suffice, or look into something like Third Wave Water.
- Set out cupping spoons, rinse bowls, spit cups, and make sure you can identify which coffee is which.
- Have scales ready. Aim for a ratio of approximately 150ml of water to 8.25g of coffee.
- Avoid cupping a coffee the same day it’s roasted. Coffee needs to rest and degas after roasting; otherwise you may find some undesirable flavors in the cup.
- Make sure there aren’t any overpowering smells around the cupping table, such as particularly odorous foods. Keep your hands free of any scented lotions and avoid wearing perfume or cologne if you know you’re cupping that day.
- Don’t eat or drink flavored beverages just before cupping.
Ready to Cup!
Once you have your coffee, water, and table set, cupping shouldn’t be a complicated exercise! Here are the basic steps you should follow for successful coffee cupping:
- Start by giving the coffees a good sniff to get a sense of its fragrance! Some people like to take the cupping bowl off the table, give the bowl a shake (don’t tape it on the table) and bring the bowl straight up to their nose (we tend to avoid doing this if there are a lot of people cupping). Just make sure to put it back in the same spot.
- After evaluating the dry fragrance, add water to the cup. Let the coffee rest for about 5 minutes; in the meantime, you can smell the crust that’s formed. After 5 minutes have passed, “break” the crust by passing your spoon through the crust a few times. Be sure to bring your nose right up to the edge of the bowl as you break the crust in order to take in the coffee’s wet aroma.
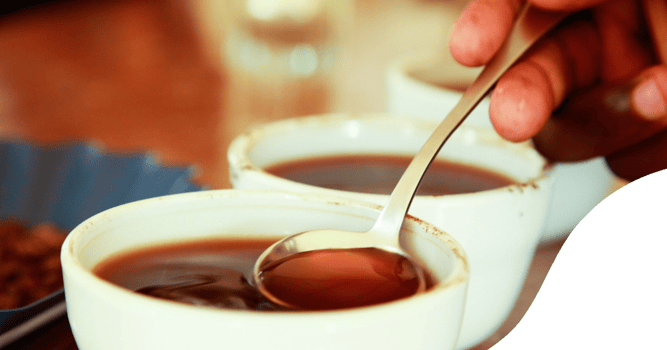
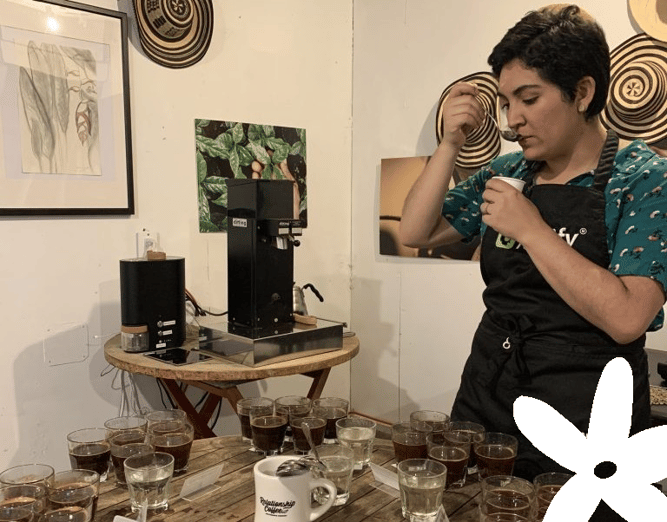
- 8-10 minutes after adding water, the coffee has cooled and the slurping starts! You need to slurp in order to “aspirate” or spray the coffee into your mouth. Doing so gives you the best chance at covering the entire surface of your tongue and soft palate with coffee, allowing you to taste more effectively. Here’s where you’ll be evaluating flavor, aftertaste, acidity, body, and balance.
- Taste again once the coffee’s temperature is a little lower after a few more minutes. Evaluating sweetness, uniformity, and clean cup becomes easier at this stage. Some cuppers like to taste the coffee again once it has reached room temperature, but this is optional as most people tend to have worn out their palate at this point depending on how many coffees are being cupped.
- Assign final scores if you’re scoring (pro tip: use apps like Tastify to keep a digital database of your cuppings) clean up and you’re done!
Final Tips from Yimara
Yimara has been cupping for years and is truly an expert. Here are a few of her pro tips!
- When spooning a sample of coffee, less is more. Taking too big of a spoonful makes it harder to slurp aggressively while increasing the chances that you’ll inhale and choke on your slurp.
- Err on the side of a cooler cup if you’re unsure your coffee is at the right temperature to start cupping. If you can hold your palm against the cupping bowl without pulling away, it should be good to go.
- Cup with an open mind and don’t go in with any expectations. Coffee is constantly evolving, and you want coffees to take you by surprise.
- While coffee cupping often will certainly train your palate, one of the best ways to become a better cupper is to taste things other than coffee! Eat a variety of foods and try new flavor experiences. This will undoubtedly expand your flavor vocabulary and make you better at describing coffees.
________________________________________________
We hope this little guide helped you on your journey to becoming a master coffee cupper— now, go out there and start slurping away! And stay tuned for our next piece on this series, where we'll explore sample roasting!

.png "SH Logo")